Reading and interpreting sewing patterns is a valuable skill for anyone interested in sewing. Sewing patterns provide step-by-step instructions on how to create a specific garment or project. Check out my video below on how to read a paper pattern or continue reading my guide on how to read and interpret sewing patterns:
1. Understand the Pattern Envelope:
- The pattern envelope contains important information about the pattern. It usually includes a picture of the finished garment, fabric suggestions, sizing information, and notions required.
2. Choose the Right Size:
- Check the pattern envelope or instructions for a size chart to determine your size. Take your body measurements accurately and choose the size that matches or is closest to your measurements.
3. Gather Your Materials:
- Look at the list of required materials on the pattern envelope or instruction sheet. These may include fabric, interfacing, zippers, buttons, thread, and any other notions. Make sure you have everything you need before you start.
4. Lay Out the Pattern Pieces:
- Open the pattern envelope and unfold the instruction sheets. You’ll find a set of tissue paper pattern pieces. Lay them out on a flat surface, ensuring that they’re flat and not wrinkled.
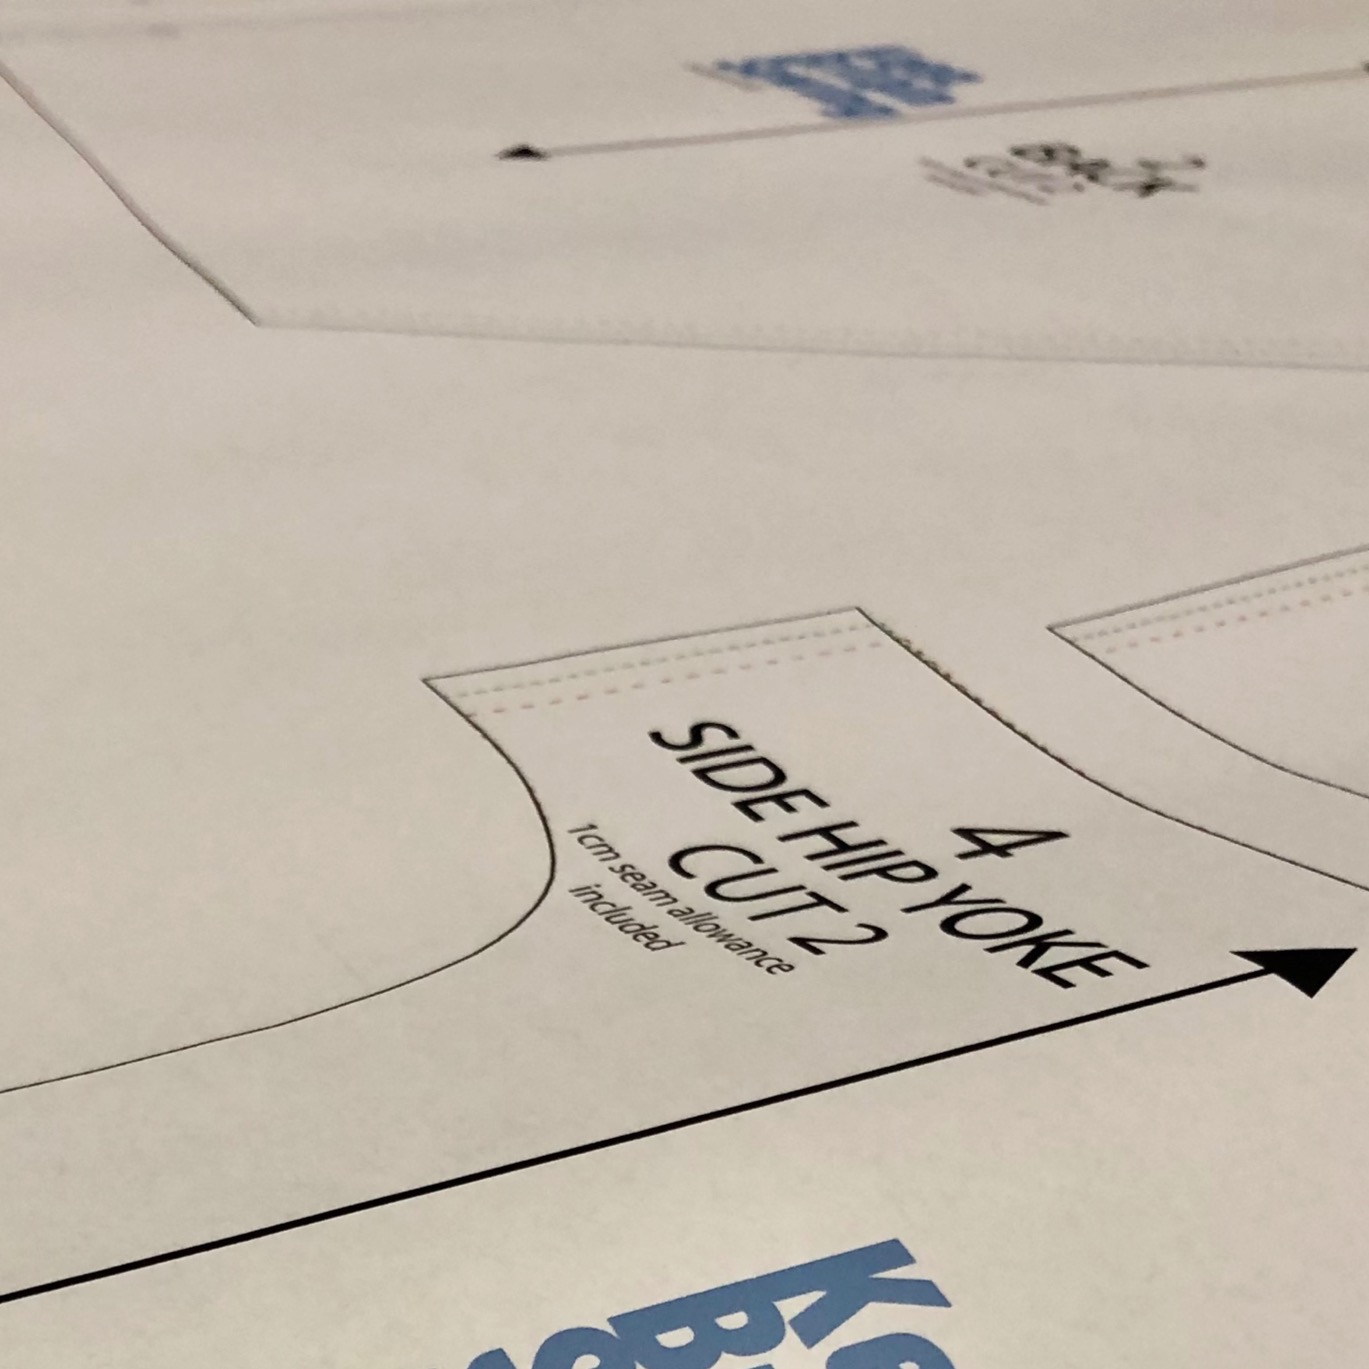
5. Identify Pattern Symbols and Markings:
- Sewing patterns use various symbols and markings to convey information. Common symbols include:
- Straight lines with arrows indicate where to cut the fabric.
- Dotted lines represent fold lines for double-layered fabric.
- Circles or dots indicate placement for buttons, snaps, or other notions.
- Notches are triangular or diamond-shaped marks that help align pattern pieces.
- Grainline arrows show the direction in which the pattern piece should be aligned with the fabric’s grain.
6. Cut Out the Pattern Pieces:
- Cut along the cutting lines of the pattern pieces. Be precise, as accurate cutting is crucial for a well-fitting garment.
7. Transfer Pattern Markings:
- Transfer any necessary markings from the pattern pieces to the fabric using tailor’s chalk, fabric markers, or tailor’s tacks. Markings may include darts, pleats, buttonholes, and pocket placements.
8. Understand the Instruction Guide:
- The instruction guide or booklet provides step-by-step written and illustrated instructions for assembling the garment. Read through the instructions carefully before you begin.
9. Follow the Sewing Steps:
- Start sewing by following the instructions step by step. Pay close attention to any specific order of operations and the recommended seam allowances (usually 5/8 inch or 1.5 cm).
- Use the recommended stitching techniques and finishes, such as backstitching to secure seams.
10. Test Fit and Make Adjustments:
- As you progress with your sewing, periodically try on the garment or compare it to your measurements to check the fit. You may need to make adjustments for a better fit.
11. Finish and Press:
- Once you’ve completed all the sewing steps, finish any remaining tasks like hemming, attaching closures, or adding decorative elements.
- Don’t forget to press your garment with an iron as directed. Proper pressing gives your garment a polished look.
12. Review the Finished Project:
- Examine your finished garment for any loose threads or imperfections. Make any necessary final adjustments.
Remember that interpreting sewing patterns may seem complex at first, but practice makes perfect. Start with simpler projects and gradually work your way up to more complex patterns as you gain confidence and experience. With time, you’ll become skilled at reading and interpreting sewing patterns to create beautiful garments and projects.